

10 tips for planting, growing, and caring for hydrangeas
29th May 2022
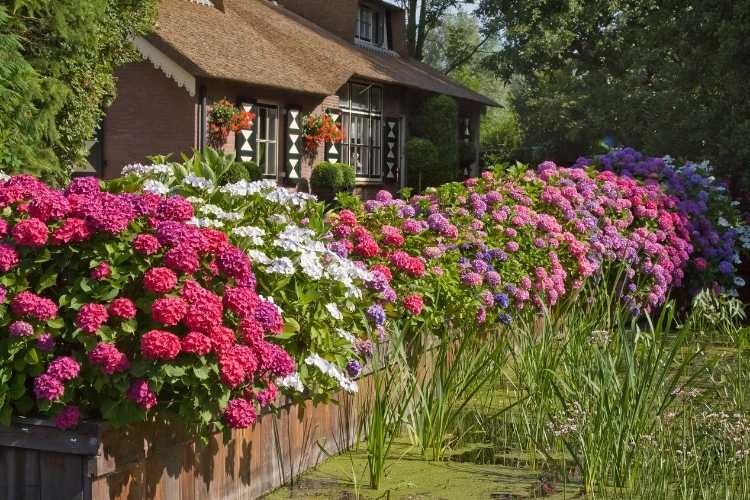
Hydrangeas are always popular and why wouldn't they be? Their large colourful flower heads always make an impression, and their vibrant colours make a striking display throughout summer and autumn.
There are diverse types for variety in the garden and many can be grown in containers as well as the border making hydrangeas accessible for everyone.
Like every plant there are ways of coaxing maximum growth and colour from them, so we've compiled our top tips on how to successfully grow hydrangeas.
10 tips for planting, growing, and caring for hydrangeas
1 Knowing when to plant
Before you can start growing and caring for these beautiful plants, you will need to know when to plant them. Not planting them at the correct time will lead to them not thriving as well as they could.
Hydrangeas like to be planted when the soil is moist but warm. This means that spring or early autumn is the best time to plant them. It is possible to plant hydrangeas during the summer months, but you must ensure the soil remains moist so do get into a regular watering routine especially when establishing the plants.
2 Where to plant hydrangeas
As well as knowing the right time to plant your hydrangeas, it’s also imperative to choose the right spot for them. You’ll need a well-balanced location in terms of light. It shouldn’t be in direct sunlight but also shouldn’t be completely shaded.
Moreover, you should try to avoid planting your hydrangeas in a south facing position and this is more important if the soil is particularly dry. North facing walls are ideal but ensure that your chosen location is not prone to excessive winds or frost.
3 Preparing the soil
Hydrangeas grow best when planting in moist soil so make sure you pick a spot with bulky soil. If the soil is a little lighter, you can always pad it out using some sort of organic matter. Typically rotted manure is a great option.
Once you have planted your hydrangea, it’s important to continue to prep the soil so that your plant can thrive. You’ll need to water immediately and then make sure that you apply a layer of mulch. While there are diverse types of mulch that will work well, leaf mulch is normally the best.
4 How to plant hydrangeas correctly
To give your plants the best start, you will need to make sure you plant them correctly. There is one key rule to keep in mind when planting hydrangeas and that is that the hole you create in the ground should never be bigger than the pot your plant came in.
However, you will need to make sure the hole is wide enough; around two feet bigger than the root ball should be enough. Once planted, the root ball should sit level with the ground surface. The reason for this is that water can more easily drain away from the plant.
Subscribe to our newsletter for exclusive offers and discounts
5 How to water hydrangeas
Providing your hydrangeas with the right amount of water will prevent them from wilting and keep them growing at a healthy rate. However, you don’t want to go over the top as it is possible to overwater which can cause root rot and leaf problems so be careful if using a hosepipe. Give your hydrangeas around an inch of water each week during the growing season.
Do keep in mind that the variety of the plant will determine how much water it needs. For example, smooth and bigleaf hydrangeas will need more. In any case, consistent moisture is the key.
6 Fertilising and feeding
As well as regular watering, you will need to feed your hydrangeas using appropriate fertiliser. Again, the type of fertiliser you use will depend on the variety of hydrangea you are caring for. Moreover, you’ll need to make sure you apply at the right time.
Oakleaf hydrangeas should be fertilised once in April and again in June. If you have bigleaf hydrangeas, you will want to apply fertiliser more intensely in March, May, and June whereas smooth hydrangeas only require one application at the end of winter.
Search for hydrangeas on our website
7 Pruning hydrangeas
Provided that you have given your hydrangeas plenty of room to grow, there won’t be too much need to prune them. Of course, there are some maintenance activities you will need to do such as removing any wood as it dies.
Furthermore, we’d suggest deadheading your hydrangeas as this will allow new flower growth as far into the year as autumn. However, once autumn comes around, stop removing flowers as the freeze will affect future growth. You can remove flowers as they wilt or remove the flowers while they’re still blooming and use them in a bouquet.
8 Possible diseases and pests
It isn’t common to experience problems with pests when growing hydrangeas but it’s certainly possible. If you are going to have pest problems, it’ll be with things like spider mites and aphids. Although proper care should prevent this from happening.
Hydrangeas can be affected by certain diseases including wilt, bight, leaf spots and mildew. Again, properly caring for your plants should limit the problems you have. Moreover, it’s always a good idea to choose resistant plants.
9 Hydrangea colour control
Did you know that you can control the colour of your hydrangeas? This doesn’t apply to all types but if you’re growing bigleaf hydrangeas then simply adjusting the soil pH can alter the colour.
Making the pH lower will result in a beautiful blue bloom owing to increased aluminium. You can achieve this by adding aluminium sulphate or peat moss to your soil. For hydrangeas with pink or red hues, increase the intensity by adding limestone.
Be sure to test the pH levels so you can be as accurate as possible. Also keep in mind that regardless of the pH level, your flowers will start to fade as autumn rolls around and there’s not much you can do about this.
10 Propagating hydrangeas
There are many ways to propagate hydrangeas. The simplest is to dig a trench near your existing plant and then bend one of the branches into the middle of your trench.
You will then need to mark the bark with scratches wherever it touches the soil before filling in the trench and securing it using something heavy like a paving slab. As time goes on, the branch will sprout roots and a new plant will grow.
At Direct Plants we have thousands of plants and shrubs for your garden, all grown in our Norfolk nursery. See our selection of plants here.